
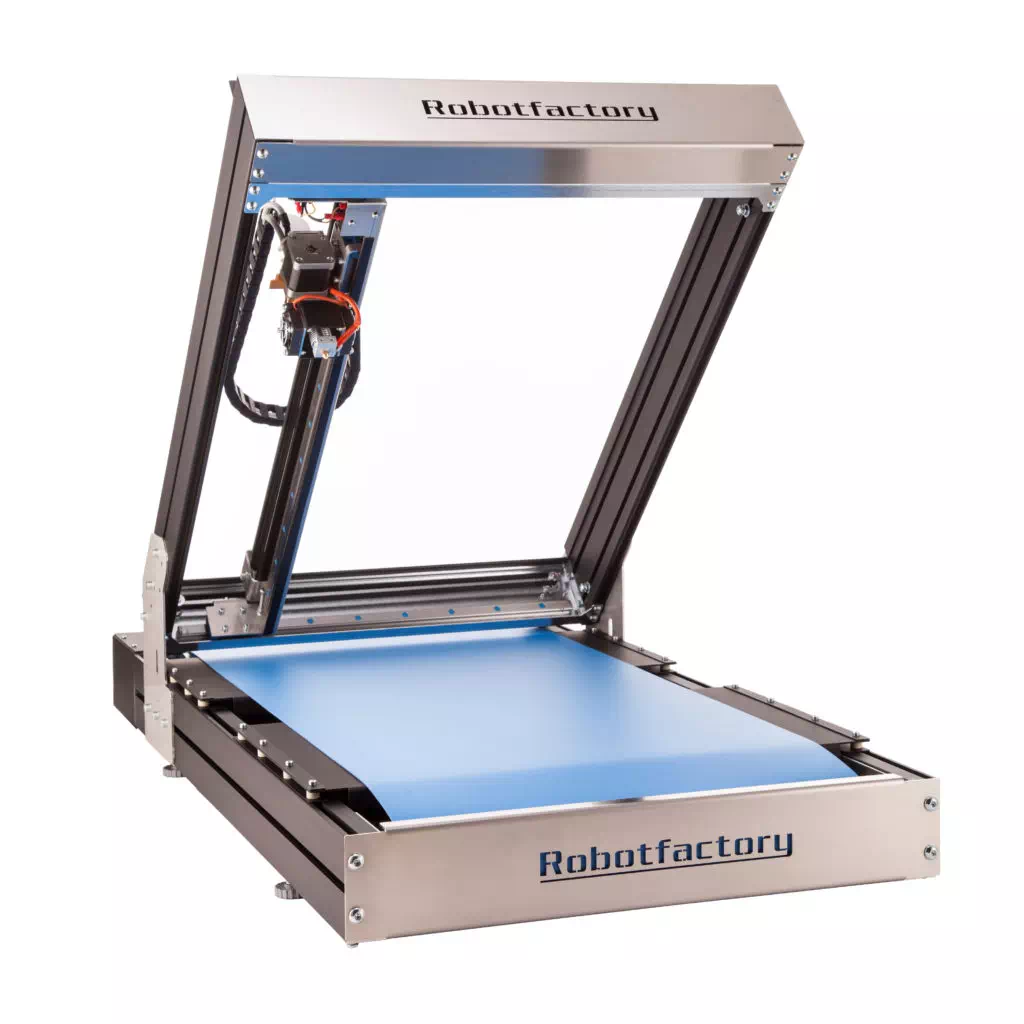


Steel Roller – Kit for upgrade to continuous 3D printing

Ideal for thermoplastic extrusion 3D printers (FFF / FDM). To work, it requires a standard FDM printer (“Gantry” technology) in which the Z axis is connected to the X axis, is the extruder moves along the X axis, the plane along the Y axis, and the X axis is moves away from the plane as the Z increases.
Description:
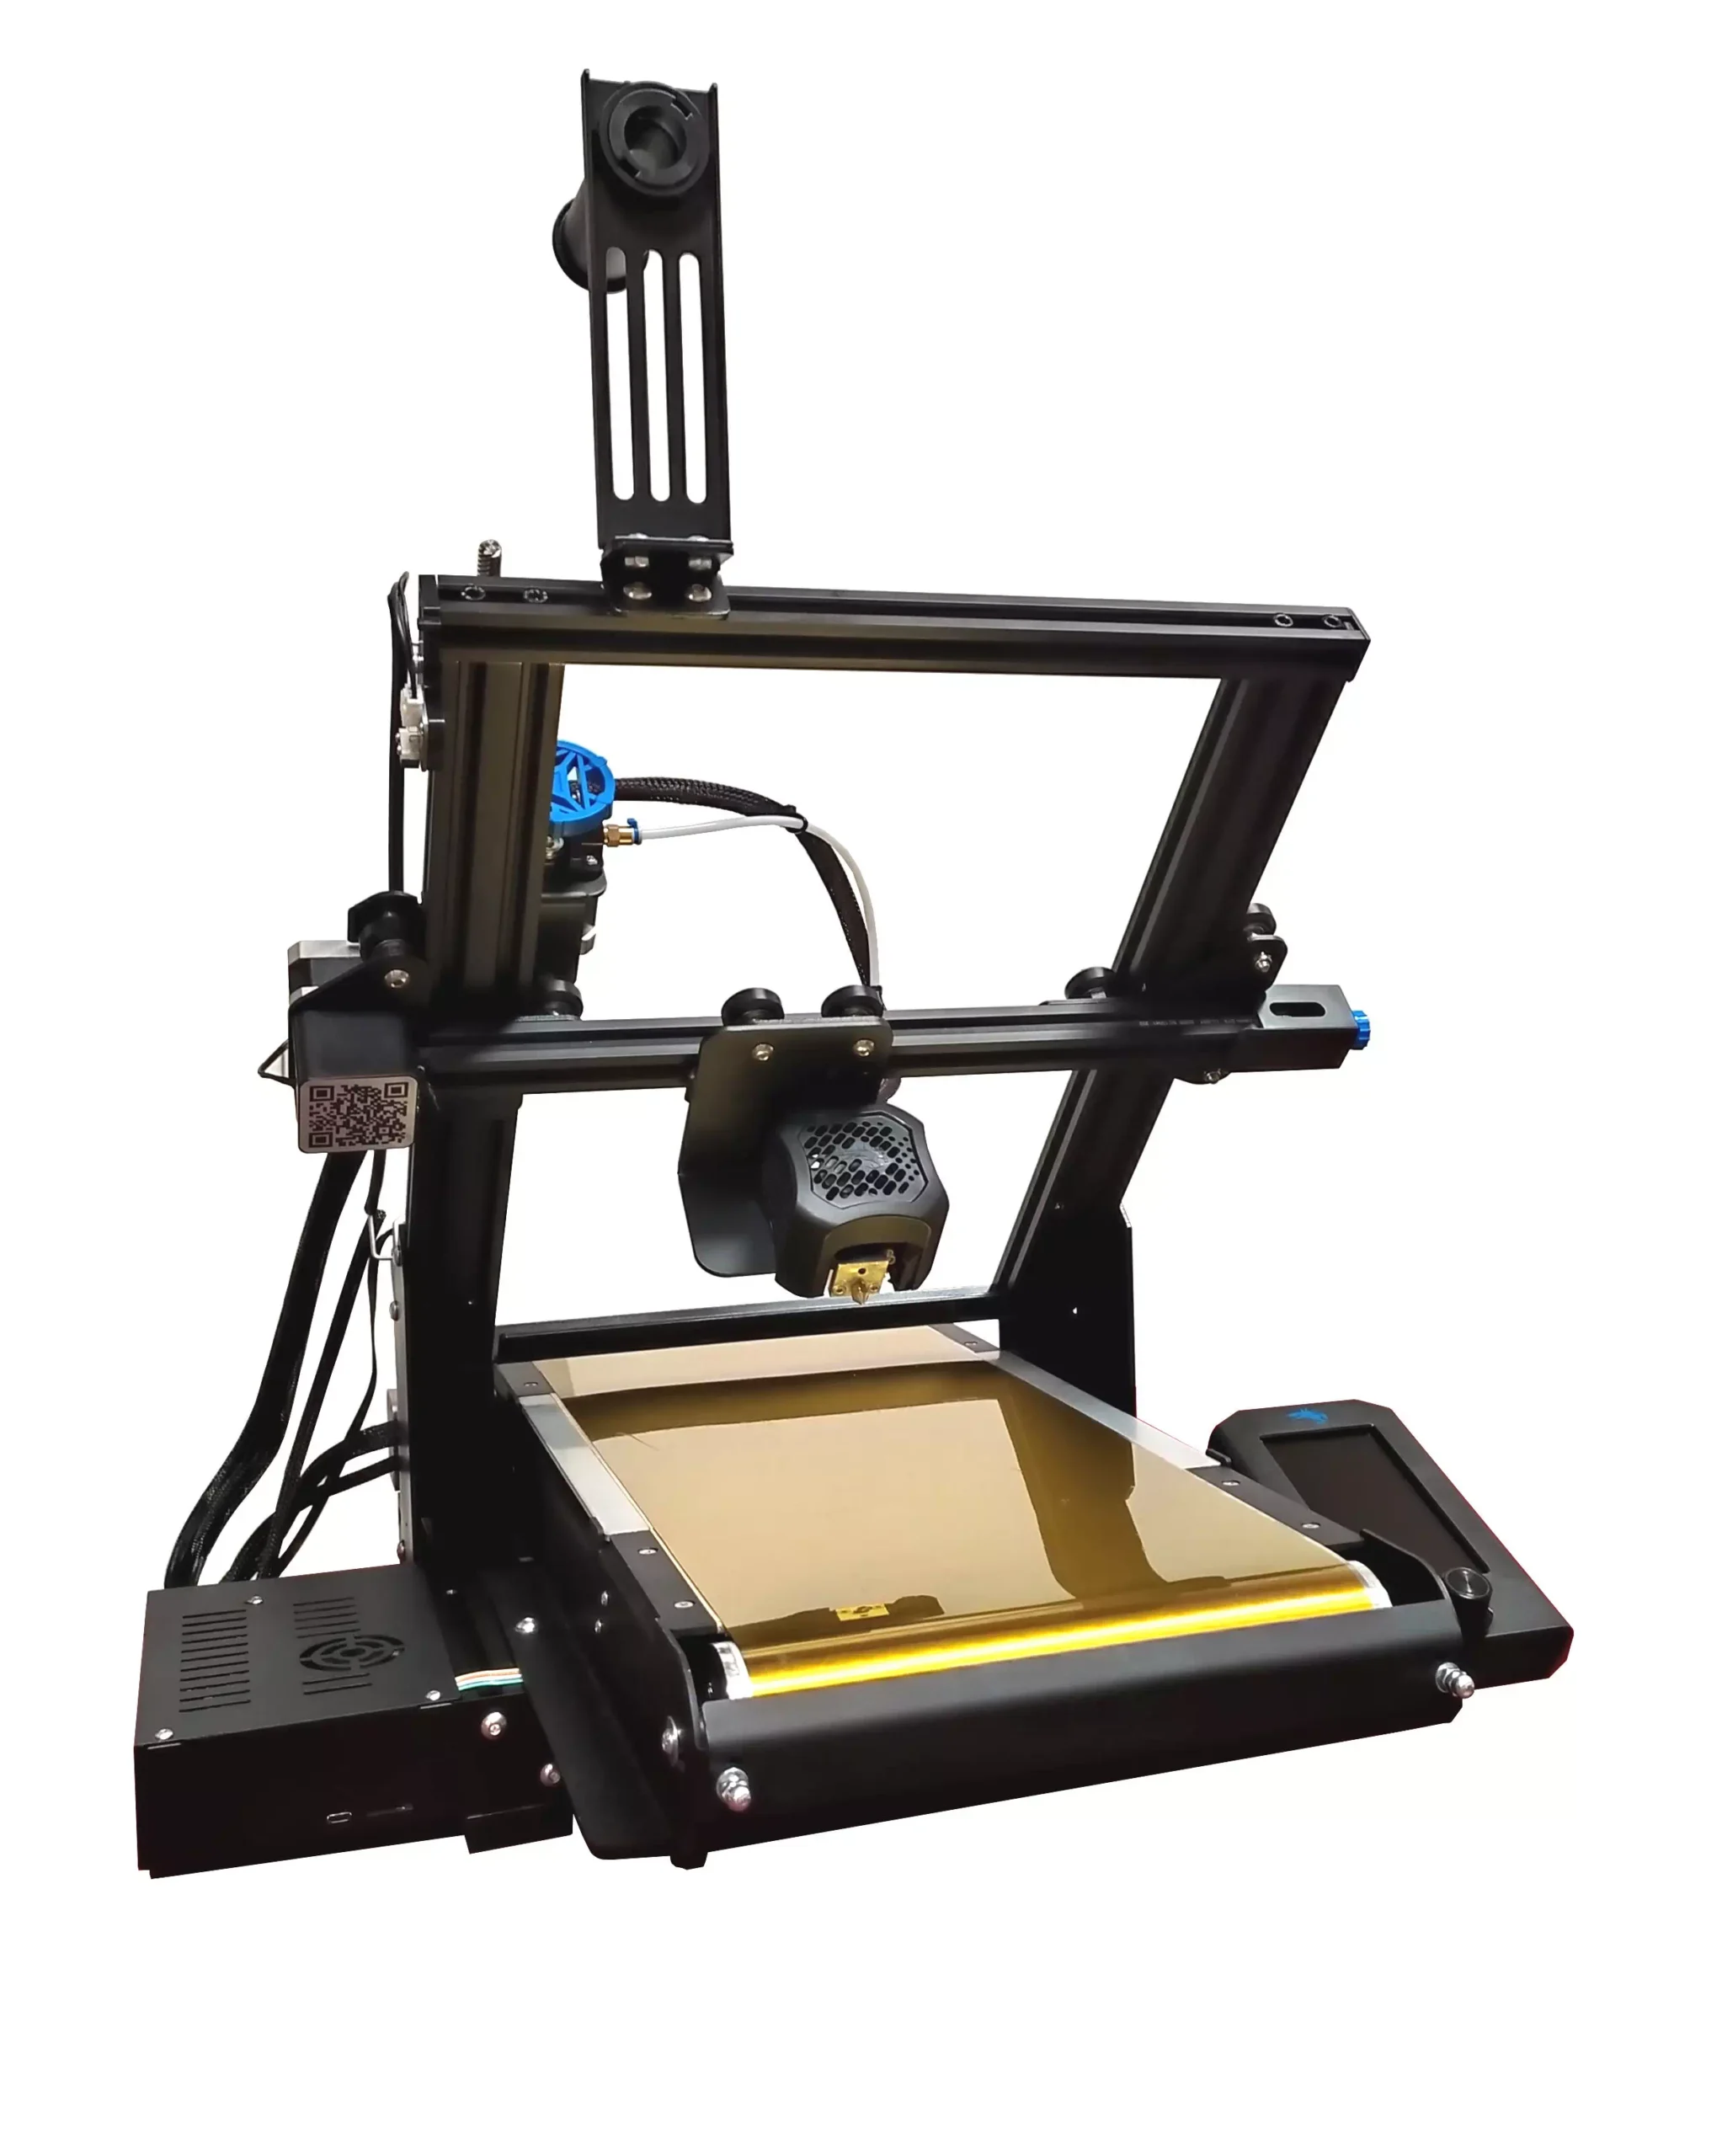
This expansion kit is configured as an add-on on an FFF printer where the print bed moves along the Y axis and the X axis moves along the Z axis.
Steel Roller consists of a stainless steel conveyor belt that replaces the original print bed of the 3D printer, to ensure that once a piece has been printed, the conveyor belt continues automatically, until the printed piece is completely detached, and then returns to the initial position to allow a new print to start.
The expansion kit includes:
– Belt support structure with stainless steel belt and aluminum cylinders that rotate on ball bearings
– Bootloader programmer (+ operating instructions) – available on request
– Marlin Firmware 1.1.9.1 (last update)
– Extension (cable) for SD slot
– Instructions (Gcode) for the advancement of the belt (and expulsion of the printed piece) at the end of a print job
– Pulley extractor – available on request.
Following this change, the conveyor belt (Steel Roller) will coincide with the adhesion plane of the object to be printed, therefore when a print batch is started, each time a print is finished, the belt will automatically move forward, until the printed object will not detach from the belt itself reaching the front roller, in this way the objects can be collected in a container in front of the roller and subsequent prints can be started automatically.
The project foresees that we continue to exploit both the heated bed and the Y-axis motor, already existing on the printer on which the Steel Roller will be installed.
Installation – it consists of a few steps:
- remove the structure of the Y axis from the 3D printer (including the heating bed), remove the motor that moves the Y axis, also removing the pulley from it
- reprogram the motherboard, updating both the boot loader (using the optional device) if the card is earlier than version 1.1.5, and the new Firmware (supplied in the kit)
- assemble the supporting structure with the steel tape and mount the block thus obtained on the 3D printer.
Therefore the installation is simple, but it is important to consider that it is necessary to have at least some mechanical skill and a minimum of programming experience.
Note: The process described above was specifically developed for Creality Ender series printers (Ender3, Ender Pro, etc.). For all the other models it is necessary to make adjustments following the instructions that we will provide (or easily available on the net) and adapt the fixing of the structure to the printer.
Any implementations for adaptation of the same expansion kit to other models of FDM printers (with “Gantry” technology), however, remain the responsibility of the user (maker).
Compatible models:
- Creality Ender series (Ender3, Ender Pro, etc.)
Adaptable models:
- Jgaurora / Jgmaker
- Artillery Genius / Side Winder X1
- Creality CR-6 / CR-10
- Anycubic Mega Zero / Mega X
- Prusa I3 / I3 MK3S
The useful size of the printing bed, with Steel Roller expansion, is 200mm x 235mm.
Note: a substrate (Kapton, Blue Tape, etc.) must be applied on the printing bed to improve the adhesion of the print.
The development of kits with different dimensions of the print bed is foreseen, for use on the most popular brands of 3D printers.